Five steps for teaching students how to create inspiring self-portraits
April 18, 2022
As teachers, we tend to get so caught up in making sure we are getting through all of the required teaching standards that sometimes we forget to add in some fun!
I had my students create a “Self Love, Self-Portrait” to get their creative juices flowing and to encourage them to create positive thoughts about themselves (and they came out so cute).
If you are looking for some inspiring artwork to hang around your classroom during the end-of-year testing, these were a hit!
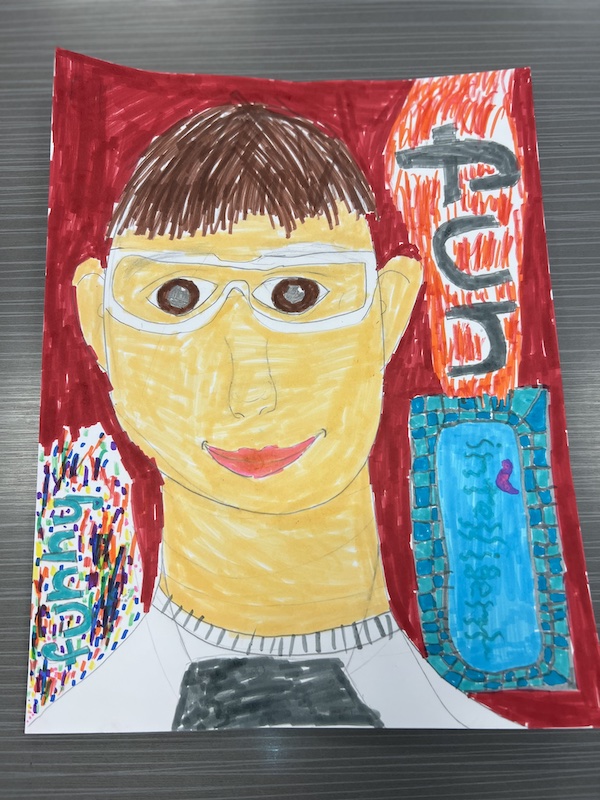
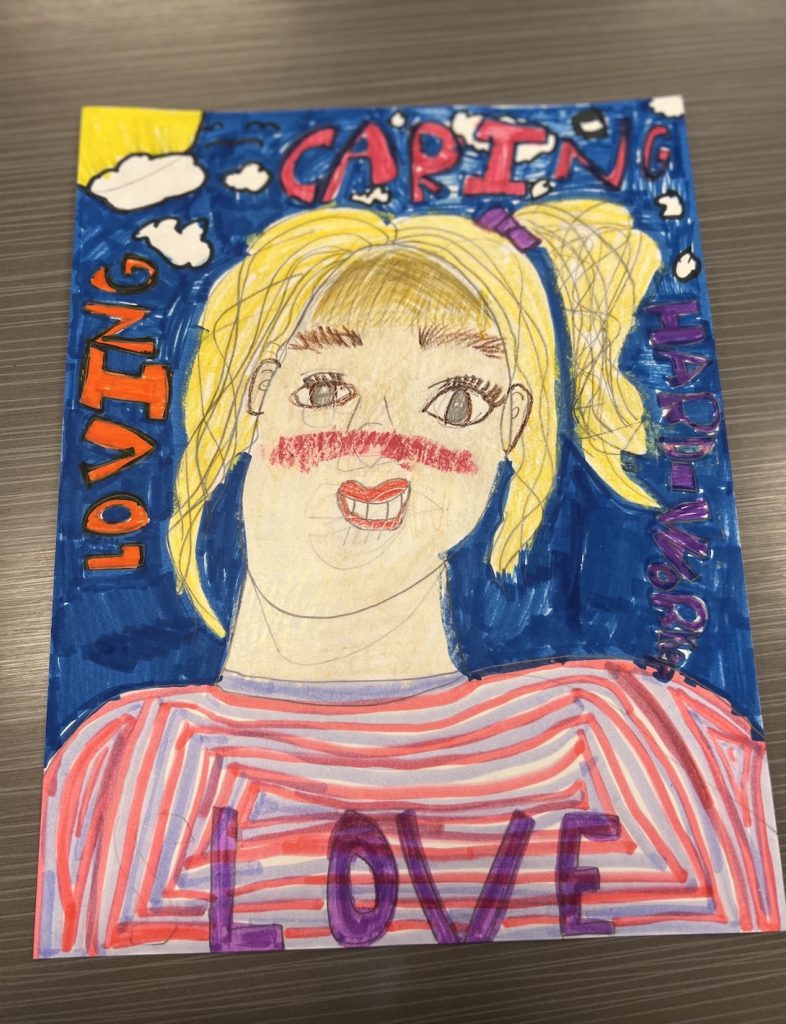
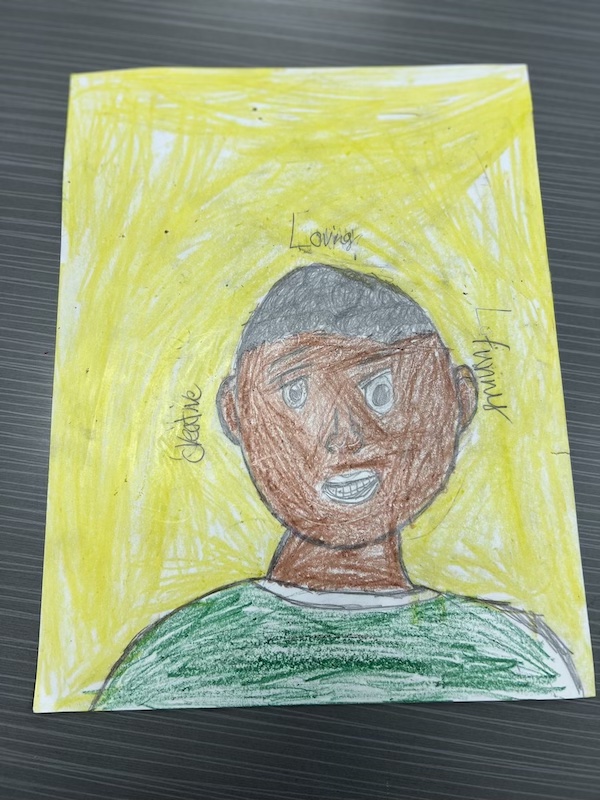
Here is how I introduced “Self Love, Self-Portraits” to my students:
- Show your students a video on how to draw a self-portrait. This is the video I used, but there are many out there made just for kids! I did not have them start yet, just watched to learn some techniques without distraction.
- Pass out materials. Each of my students received a piece of cardstock. I had them use whatever coloring supplies they owned and preferred (markers, crayons), but you can pass specific supplies out if you rather.
- Show the video again. This time, fast forward and pause the video for your students as needed. Have the students draw as the video plays and watch them take in tips that will help them create their piece of art. I told them to pick and choose the advice that they wanted—that their self-portrait would be unique to them!
- Have students come up with three adjectives that describe them. I had students come to me with their adjectives and I wrote them down for them on a sticky note to help with spelling. I also was able to assist those that were struggling to come up with some.
- Finished product expectations. To help enhance creativity, I told my class that there should be very little white left on their paper. They were instructed to decorate their background and make it one-of-a-kind!


